
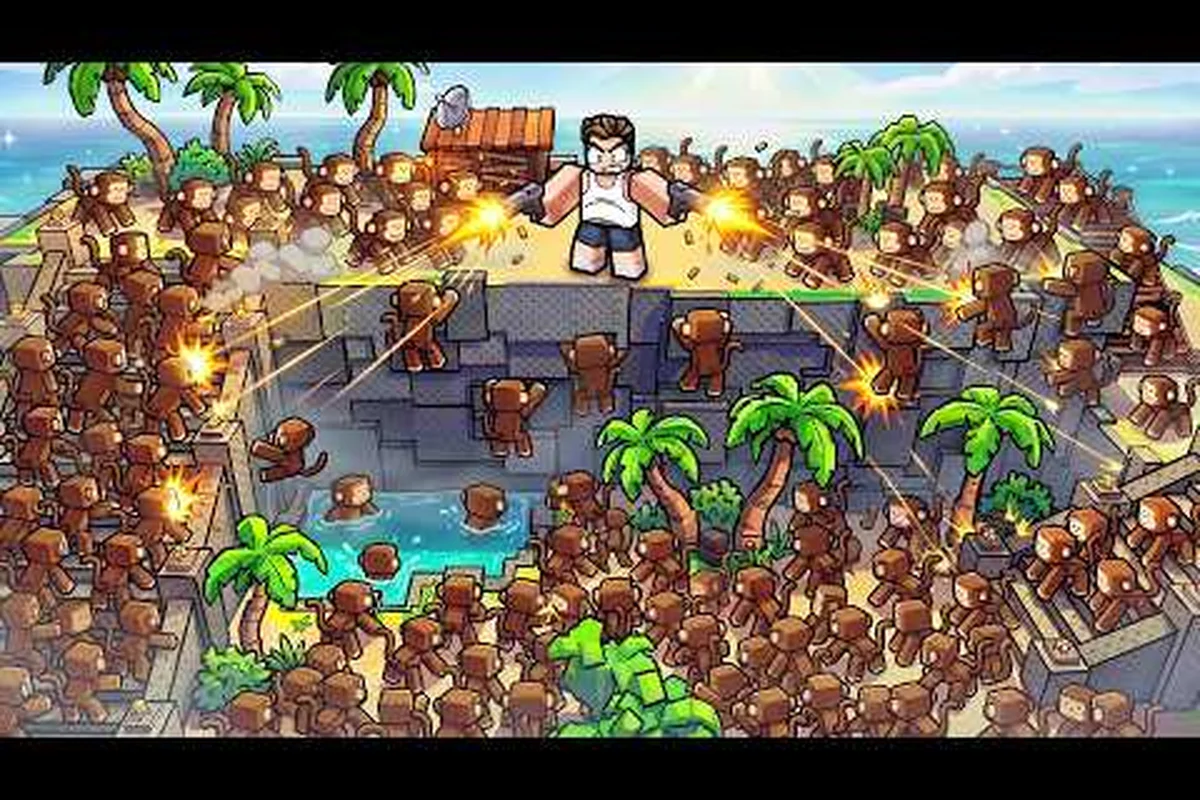
Unlocking the right upgrades early transforms a chaotic island defense into a controlled solo survival run. This survive a million monkeys unlock guide cuts through the 2026 meta noise to show exactly which purchases keep you alive past the first brutal waves. Because Gems are scarce and every wrong unlock costs you a run, prioritizing correctly matters more than raw skill.
Core Unlock Economy and Solo Priority
The hub economy in Survive a Million Monkeys revolves around two currencies: Cash, which you earn during a run to raise weapon tier, boost health, and place turrets or barricades, and Gems, which you bank after surviving waves and spend on permanent unlocks. According to the official Roblox page, the game has passed 8.2 million visits and holds a 96.9 percent positive community rating, which means you are competing against a large pool of players who have already optimized their unlock order. For solo players, the unlock economy feels tighter because you cannot split defensive responsibilities with a teammate.
Your first five Gem purchases should follow a strict sequence that maximizes survival time per run. The Weapon Tier upgrade is the undisputed first pick because it directly increases your damage output, which shortens the time each monkey spends attacking your barricades. The Health Boost upgrade comes second because solo players absorb every hit without a partner to draw aggro. The Turrets unlock is third, followed by Barricades, and finally the Cash Multiplier upgrade that accelerates all future in-run purchases.
| Unlock Priority | Upgrade Name | Solo Impact | Gem Cost Range |
|---|---|---|---|
| 1 | Weapon Tier | Increases damage per shot, faster wave clears | Low |
| 2 | Health Boost | More survivability when surrounded | Low |
| 3 | Turrets | Automated damage while you reposition | Medium |
| 4 | Barricades | Slows monkey advance paths | Medium |
| 5 | Cash Multiplier | Faster in-run economy scaling | High |
The reasoning behind this order is simple: damage and health are multiplicative with your own skill, while turrets and barricades are additive support. A solo player who unlocks Weapon Tier first can clear the early waves with fewer shots, which preserves ammo and reduces the number of monkeys that reach melee range. Community testing consistently shows that players who rush turrets before weapon upgrades struggle more in waves three through five because their personal damage falls behind the scaling monkey health.
How to Unlock Weapons and Defensive Tools
Understanding how to unlock weapons in Survive a Million Monkeys requires knowing where each purchase lives in the hub. The hub is the central area where you spend Gems between runs, and every permanent unlock appears as an interactable station or menu option. You do not need to find hidden NPCs or complete side quests; the unlock stations are visible immediately after your first successful run banks Gems.
The Weapon Station handles all offensive unlocks, including base weapon tier increases and new weapon variants. The Defense Station covers turrets, barricades, and health upgrades. A third station, the Economy Station, handles Cash Multiplier and any Gem gain bonuses. New players often miss the Economy Station because it sits slightly off the main path, but it becomes the most valuable station once you have your core combat upgrades.
Weapon Tier Progression
Weapon tier progression follows a straightforward pattern: each tier increases base damage by a fixed percentage and sometimes adds a secondary effect. The first tier upgrade is cheap and immediate, while later tiers require exponentially more Gems. Because the monkey health scaling accelerates in later waves, you need to keep your weapon tier roughly one step ahead of the wave number to maintain comfortable clear times.
| Weapon Tier | Relative Damage | Recommended Wave Range | Solo Viability |
|---|---|---|---|
| Tier 1 | Base | Waves 1-3 | Comfortable |
| Tier 2 | +25% | Waves 4-6 | Comfortable |
| Tier 3 | +50% | Waves 7-9 | Adequate |
| Tier 4 | +80% | Waves 10+ | Required |
The jump from Tier 3 to Tier 4 is the most expensive single unlock in the early game, but it is also the most impactful because wave ten introduces a significant monkey health spike. Players who enter wave ten with only Tier 3 weapons report needing nearly twice as many shots per kill, which cascades into barricade damage and eventual run failure. If you are following this survive a million monkeys solo guide, save your Gems for the Tier 4 weapon unlock before spending on luxury upgrades like barricade cosmetics.
Where Defense Structures Earn Their Cost
Turrets and barricades work best when you understand their placement logic. Turrets fire automatically at the nearest monkey within range, which makes them ideal for covering your flanks while you focus fire on the main approach. Barricades slow monkey movement and can funnel the horde into a narrow corridor where your shots and turret fire overlap. The combination of a well-placed barricade and a turret behind it creates a kill zone that can hold an entire wave without your direct input.
Placement matters more than raw upgrade level for these defensive tools. A Tier 1 Turret placed at a choke point outperforms a Tier 3 Turret placed in open ground because the choke point concentrates monkeys into a smaller area where every shot lands. Similarly, a barricade placed diagonally across a path forces monkeys to take a longer route, which gives both you and your turrets more time to deal damage. The official Roblox page confirms that turrets and barricades are core to the island survival loop, but it does not teach placement, which is why community knowledge fills the gap.
Solo Play Unlock Strategy for 2026
The 2026 meta for solo play has shifted toward aggressive early unlocks rather than defensive turtling. In previous patches, players recommended unlocking barricades first to create safe zones, but the current monkey AI pathing changes have made barricades less reliable as a primary defense. Instead, the top solo players now rush weapon damage and health, using movement and positioning as their primary defensive layer.
This shift matters because it changes the optimal Gem spending order. If you are returning to the game after a break, you might be following an outdated survive a million monkeys guide 2026 that still recommends barricade-first play. The current meta rewards players who can kill monkeys before they reach the barricades, which means weapon tier and turret damage outrank barricade durability in the early unlock order.
Solo vs Co-op Unlock Differences
Solo play and co-op play demand different unlock priorities because the threat distribution changes. In co-op, one player can specialize in turret management while another focuses on weapon damage, which spreads the Gem burden across two unlock paths. In solo play, you must cover every role yourself, which forces you to make harder choices about what to unlock first. The co-op strategy guide explains how team compositions change the unlock math, but the solo path is stricter and less forgiving.
| Playstyle | First Unlock | Second Unlock | Third Unlock | Why |
|---|---|---|---|---|
| Solo Aggressive | Weapon Tier | Health Boost | Turrets | Personal damage carries runs |
| Solo Defensive | Barricades | Turrets | Weapon Tier | Slower but safer early waves |
| Co-op Split | Weapon Tier | Turrets | Health Boost | Roles divide responsibility |
| Co-op Support | Turrets | Barricades | Cash Multiplier | Support player handles defense |
The solo aggressive path is the current meta recommendation because it front-loads your personal power curve. When you unlock weapon tier first, every subsequent run generates more Cash per wave because you kill faster, which compounds into better in-run purchases. This snowball effect is less pronounced in co-op because the Cash is split or because a support player handles the economy while you focus on damage.
Cash Management During Runs
Cash management during a run is just as important as Gem spending between runs. The in-run Cash economy lets you raise weapon tier temporarily, boost health, and place turrets or barricades without spending permanent Gems. The key insight is that in-run Cash purchases are temporary and reset each run, so you should spend Cash aggressively on the current run rather than hoarding it.
A common solo mistake is saving Cash for a late-game purchase that never arrives because the run ends first. Instead, spend Cash on the cheapest impactful upgrade as soon as you can afford it. The Cash Multiplier permanent unlock makes this strategy even stronger because it increases the amount of Cash you earn per kill, which accelerates your in-run power curve. Players who combine an early Cash Multiplier unlock with aggressive in-run spending report clearing waves two to three levels higher than players who hoard Cash.
Advanced Unlock Order for Consistent Solo Wins
Once you have the core unlocks, the advanced unlock order focuses on consistency and run-to-run reliability. The goal shifts from surviving one lucky run to surviving every run, which requires a different set of priorities. Consistency comes from reducing variance, and variance in Survive a Million Monkeys comes from bad turret placement, unexpected monkey pathing, and insufficient health to survive a single mistake.
The Health Boost upgrade line deserves more attention than most guides give it. Each health tier increases your maximum health by a meaningful percentage, and the difference between surviving two hits and three hits is enormous in solo play. When you have enough health to survive a single positioning mistake, you can play more aggressively and take calculated risks that speed up wave clears. Players who neglect health upgrades often find themselves dying to a single monkey that slipped past their turrets, which is a frustrating and avoidable death.
Unlock Order for Different Skill Levels
Your skill level changes the optimal unlock order because skilled players can extract more value from damage upgrades while newer players need defensive padding. A skilled player who rarely gets hit can rush weapon tier and turret damage, trusting their movement to keep them alive. A newer player who still struggles with positioning should prioritize health and barricades to buy themselves more time to react.
| Skill Level | Recommended First Three Unlocks | Reasoning |
|---|---|---|
| New Player | Health Boost, Barricades, Weapon Tier | Survivability while learning positioning |
| Intermediate | Weapon Tier, Health Boost, Turrets | Balanced offense and defense |
| Advanced | Weapon Tier, Turrets, Cash Multiplier | Maximize damage and economy scaling |
| Speedrunner | Cash Multiplier, Weapon Tier, Turrets | Fastest possible power curve |
The intermediate path is the safest recommendation for most players following this survive a million monkeys unlock guide. It balances personal damage with survivability and gives you a turret to cover your flanks, which creates a well-rounded kit that handles most wave compositions. The advanced path assumes you already have strong positioning skills and can survive without early health investment.
The Cash Multiplier Snowball
The Cash Multiplier unlock is the most underrated upgrade in the game because its value compounds across every subsequent run. Each tier of Cash Multiplier increases the Cash you earn per kill, which lets you buy more in-run upgrades, which lets you survive longer, which banks more Gems, which funds more permanent unlocks. This positive feedback loop is the engine that drives long-term progression.
The math is straightforward: if the Cash Multiplier increases your Cash income by 20 percent, and you typically earn 1,000 Cash per run, you now earn 1,200 Cash per run. That extra 200 Cash buys an additional in-run weapon tier or health boost, which extends your run by several waves. Those extra waves bank more Gems, which fund the next permanent unlock. Over ten runs, the compounding effect is massive, which is why speedrunners and high-level players unlock Cash Multiplier early despite its higher Gem cost.
Unlock Errors That Delay Your Progression
The most common unlock mistake is spending Gems on cosmetic or low-impact upgrades before securing your core combat kit. The hub contains several tempting purchases that look valuable but provide minimal survival benefit, and new players often fall for them because they are cheap or visually appealing. Every Gem spent on a low-impact upgrade is a Gem that could have gone toward weapon tier or health, which directly delays your progression.
Another frequent mistake is unlocking turrets before weapon tier. Turrets are powerful, but they are a force multiplier, not a base power source. A turret without weapon damage behind it is a slow, inefficient killer that lets monkeys reach your barricades. Weapon tier first, turrets second is the correct order for almost every solo player, and deviating from it usually results in slower wave clears and more deaths.
The Trap of Defensive Overinvestment
Defensive overinvestment is a subtle trap that catches intermediate players. After unlocking barricades and turrets, some players keep investing in defensive upgrades while their weapon damage stagnates. This creates a situation where you can survive a long time but cannot kill monkeys fast enough to clear waves before they overwhelm your defenses. The result is a slow, inevitable death that feels worse than a quick loss because you invested heavily in a losing strategy.
The fix is to maintain a rough balance between offense and defense. A good rule of thumb is to keep your weapon tier at least equal to your barricade tier, and your turret damage at least one tier behind your weapon damage. This ensures you always have the killing power to back up your defensive investments. The beginner guide covers the fundamentals of wave clearing, but the unlock balance principle applies at every skill level.
Skipping the Station's Abstract Upgrades
The Economy Station is easy to ignore because it sits off the main hub path and its upgrades feel abstract compared to weapons and turrets. But ignoring the Economy Station is a long-term mistake because the Cash Multiplier and Gem gain bonuses it offers are the highest-value unlocks in the game. Every run you play without these upgrades generates less Cash and banks fewer Gems, which compounds into a significant progression delay over dozens of runs.
The run guide explains how to optimize individual runs, but the Economy Station is the unlock that makes every run more efficient. If you are serious about solo progression, make the Economy Station your third or fourth stop after securing your core combat unlocks. The earlier you unlock Cash Multiplier, the more runs benefit from it, which is why experienced players prioritize it over late-game weapon tiers.
Frequently Asked Questions
What is the first thing I should unlock in Survive a Million Monkeys?
The first unlock should be Weapon Tier because it directly increases your damage output and shortens wave clear times. Solo players especially benefit from faster kills since they cannot rely on a teammate to cover their weaknesses. Health Boost is the second priority.
How do I unlock new weapons in Survive a Million Monkeys?
New weapons unlock through the Weapon Station in the hub, which appears after your first successful run banks Gems. Each weapon tier requires a fixed Gem cost that increases with each level. You do not need hidden items or quests; the station is visible immediately.
Is solo play harder than co-op in Survive a Million Monkeys?
Yes, solo play is harder because you must cover every role yourself without a partner to split aggro or manage turrets. The unlock order becomes stricter because you cannot specialize. However, solo play is fully viable with the right unlock priority and positioning.
Should I unlock barricades or turrets first?
Turrets should come before barricades in the current 2026 meta because they provide automated damage that complements your weapon tier. Barricades are still valuable for funneling monkeys into kill zones, but they are less effective as a primary defense than they were in earlier patches.
How many Gems do I need for the core unlocks?
The core unlocks—Weapon Tier, Health Boost, and Turrets—require a relatively low total Gem investment, typically achievable within your first three to five successful runs. The exact cost varies by tier, but the early tiers are deliberately cheap to encourage progression.