
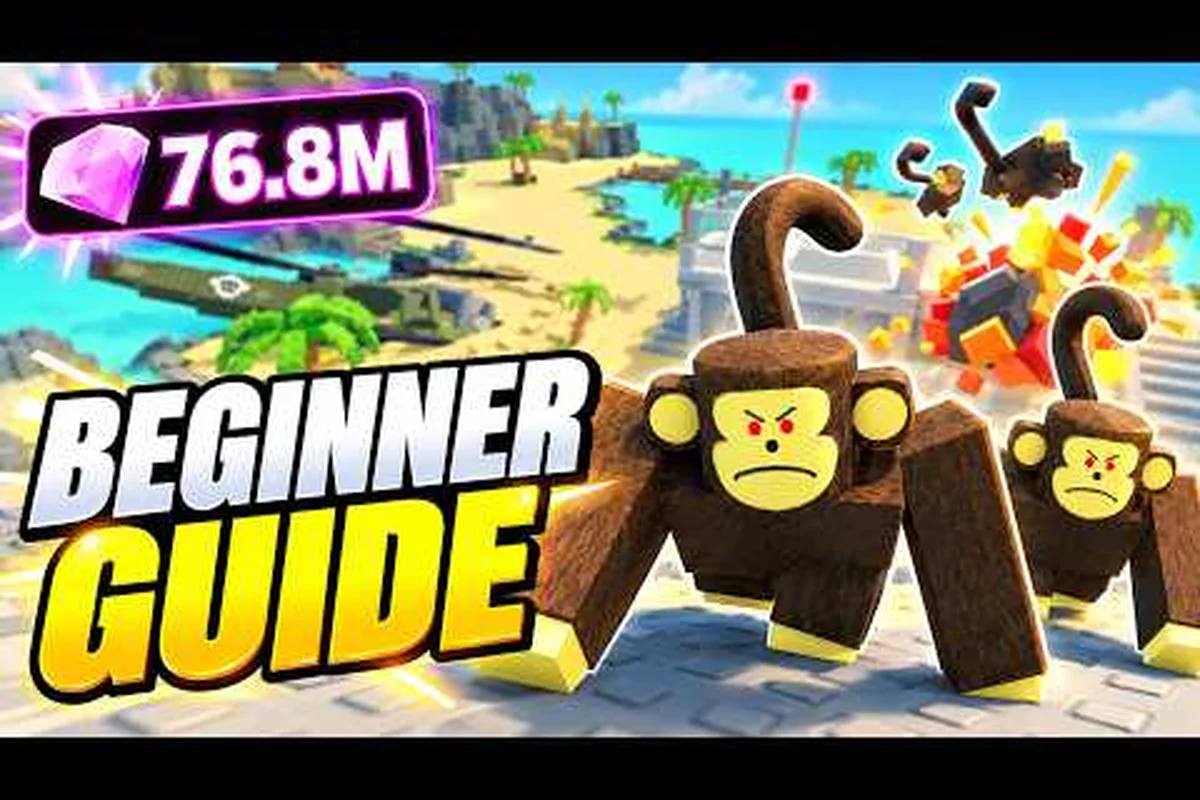
Your first run in Survive a Million Monkeys throws you onto an island with little more than a pistol and a timer counting down to chaos. The core loop is simple: earn Cash during each wave, upgrade your weapon tier and health, then bank Gems in the hub before the rabid horde overwhelms you. This beginner guide breaks down the exact pacing, dodging, and upgrade decisions that keep you alive past Wave 1, because most new players die before they ever learn how the economy actually works.
The Opening Minutes and Wave 1 Finances
The opening minutes of any run determine whether you reach the mid-game or become monkey food. According to the official Survive a Million Monkeys game page on Roblox, the game has passed 8.2 million visits with a 96.9 percent positive community rating, which means the fundamentals are fair but unforgiving. Your first job is to understand that Cash is a per-run currency while Gems are the persistent currency you bank between runs.
The Wave 1 economy works on a simple principle: kill monkeys, collect Cash drops, and spend that Cash before the next wave spawns. New players often hoard Cash thinking they can save it for later, but Cash resets every run. Gems, on the other hand, persist in the hub and unlock permanent upgrades that make every future run easier. This distinction is the single most important concept in any survive a million monkeys beginner guide.
| Resource | Persistence | Primary Use | Best Time to Spend |
|---|---|---|---|
| Cash | Resets each run | Weapon tier, health, turrets, barricades | Immediately during waves |
| Gems | Permanent in hub | Hub upgrades, permanent boosts | Between runs |
| Health | Resets each run | Surviving hits | When below 50 percent |
| Ammo | Resets each run | Killing monkeys | When low, reposition first |
The pacing of Wave 1 is intentionally slow to teach you the dodge rhythm. Monkeys spawn in small clusters from predictable directions, giving you time to learn their lunge animation. Because the first wave lasts roughly 45 to 60 seconds, you should focus on landing headshots rather than spraying bullets. Headshots award more Cash per kill, which compounds into faster weapon upgrades by Wave 2.
Mastering Movement and Dodging Fundamentals
Dodging is not optional in Survive a Million Monkeys; it is the difference between a 3-wave run and a 15-wave run. The monkeys telegraph their attacks with a brief crouch before leaping, and that crouch is your signal to strafe sideways. Standing still while firing is the most common beginner mistake, and it gets punished within the first 30 seconds of Wave 2.
The movement system rewards circle strafing around spawn clusters rather than backing straight away. When you back straight away, monkeys converge on your path and cut off your escape route. When you circle strafe, you force the horde to constantly redirect, which creates gaps for reloads and repositioning. This technique becomes muscle memory after a few runs, but only if you practice it deliberately during Wave 1 instead of panic-firing.
The Dodge Timing Table
| Monkey Attack | Telegraph | Dodge Window | Punishment If Missed |
|---|---|---|---|
| Lunge | Brief crouch | 0.4 seconds | 15-20 health lost |
| Leap Slam | Arms raised | 0.6 seconds | 25 health lost plus knockback |
| Grab | Both arms forward | 0.5 seconds | Immobilized for 1.5 seconds |
| Spit | Head tilt back | 0.8 seconds | 10 health lost over time |
The Leap Slam is the most dangerous Wave 1 attack because it also knocks you backward into other monkeys. If you see arms raised, dodge sideways rather than backward, because the slam creates a small area-of-effect impact zone directly behind your previous position. Community reports consistently note that players who master the sideways dodge survive twice as long as those who rely on backward movement.
Weapon Tier Upgrades and Spending Priorities
Your starting pistol is adequate for Wave 1 but falls off sharply by Wave 3. The upgrade system lets you raise your weapon tier using Cash earned during the run, and each tier increases damage, fire rate, or magazine size depending on the weapon type. The key decision is whether to rush weapon tier or invest in health first, and the answer depends on your dodge consistency.
If you can reliably dodge at least 70 percent of attacks, rushing weapon tier 2 before Wave 3 is the optimal play because faster kills reduce the number of monkeys on screen. If you are still getting hit frequently, buying one health upgrade before weapon tier 2 gives you a larger margin for error. The survive a million monkeys tips and tricks that veterans share almost always emphasize this adaptive spending logic over a fixed build order.
Upgrade Priority Scenarios
| Player Type | First Purchase | Second Purchase | Rationale |
|---|---|---|---|
| Confident dodger | Weapon tier 2 | Health | Faster clears reduce incoming damage |
| Average player | Health | Weapon tier 2 | Survives mistakes while learning patterns |
| Struggling beginner | Health x2 | Barricade | Maximum survivability before damage scaling |
| Aggressive player | Weapon tier 2 | Turret | Turret covers flanks while pushing forward |
Turrets and barricades become available after your first few runs, and they change the defensive equation significantly. A barricade placed at a choke point funnels monkeys into a single lane where your bullets hit multiple targets. A turret provides passive damage that scales with your weapon tier, making it a strong second purchase for players who prefer to kite rather than hold ground.
Wave Pacing and When to Bank Gems
Wave pacing in Survive a Million Monkeys follows a predictable escalation curve, but the exact timing varies by run because spawn locations are randomized. The first three waves are forgiving, Waves 4 through 6 introduce elite monkeys with more health, and Waves 7 and beyond throw mixed horde compositions that require both turret coverage and barricade funneling. Understanding this curve helps you decide when to play safe and when to push for extra Cash.
The Gems banking decision is where many beginners lose progress unnecessarily. You can bank Gems at the hub between runs, but you only keep Gems if you survive long enough to reach a banking checkpoint or complete the run. Dying with unbanked Gems means losing that run's persistent progress, which is why the survive a million monkeys survival guide approach recommends banking as soon as you feel the next wave might overwhelm you.
Wave Difficulty Curve
| Wave Range | Monkey Types | Recommended Setup | Survival Tip |
|---|---|---|---|
| 1-3 | Basic melee monkeys | Starting pistol, one upgrade | Circle strafe and headshot |
| 4-6 | Elite monkeys, spitters | Weapon tier 3, one health | Kill spitters first |
| 7-9 | Mixed horde, leapers | Turret plus barricade | Funnel into choke points |
| 10+ | Boss variants, swarms | Full kit, multiple turrets | Bank Gems before pushing |
The transition from Wave 3 to Wave 4 is the first major difficulty spike, and it catches new players off guard because elite monkeys require roughly three times as many body shots to kill. If you enter Wave 4 with a tier 1 weapon and no health upgrades, you will likely die within 20 seconds. The starting guide for new players covers the early-game economy in more detail, but the core rule is simple: never enter Wave 4 underprepared.
Building a Repeatable Early-Run Routine
Consistency is what separates players who bank Gems every run from those who die on Wave 2 repeatedly. A repeatable early-run routine removes decision fatigue and lets you focus on execution. The routine below is based on community testing and works reliably for players who have completed at least three runs.
The first 30 seconds of every run should follow the same pattern: identify the nearest Cash drop cluster, clear it with headshots, and immediately purchase your first upgrade based on your dodge confidence. Do not wander toward the center of the map early, because that is where the densest spawn clusters appear. Stick to the perimeter and work inward as your weapon tier increases.
The 5-Step Opening Routine
-
Step 1: Perimeter sweep — Clear the outer edge of the island first, where spawn density is lowest and headshots are easiest to land.
-
Step 2: First upgrade decision — Spend your first 200 Cash on weapon tier 2 if dodging well, or health if you have taken more than 40 damage.
-
Step 3: Choke point setup — Identify a narrow passage between rocks or trees where you can place a barricade later.
-
Step 4: Wave 3 preparation — Before Wave 3 ends, ensure you have either a turret or a second health upgrade, because Wave 4 elites punish underinvestment.
-
Step 5: Bank decision — If your health is below 30 percent at the end of Wave 5, bank your Gems and end the run rather than risking a total loss.
This routine works because it front-loads the safest actions and delays risky decisions until you have enough information. The full run guide goes deeper into mid-game wave management, but mastering this opening sequence is enough to consistently reach Wave 5 or 6 as a beginner.
The Usual Beginner Failures and Their Fixes
Most beginner deaths in Survive a Million Monkeys come from the same handful of mistakes, and fixing them produces immediate improvement. The most damaging mistake is standing still while firing, which turns you into a stationary target for every monkey on screen. The second most common mistake is overspending on health early, which leaves you unable to kill fast enough and creates a death spiral where more monkeys accumulate than you can handle.
Another frequent error is ignoring the minimap during Wave 4 and beyond. The minimap shows spawn clusters before they become visible, giving you a two-second head start on repositioning. Players who watch the minimap consistently report surviving two to three waves longer than those who only react to what they see on screen.
Mistake Impact Table
| Mistake | Immediate Consequence | Long-Term Cost | Fix |
|---|---|---|---|
| Standing still | Lose 30-50 health per wave | Fewer Gems banked | Strafe while firing |
| Hoarding Cash | Underpowered by Wave 4 | Death before banking | Spend during waves |
| Backing straight away | Cornered by horde | Run ends early | Circle strafe instead |
| Ignoring spitters | Damage over time stacks | Forced to retreat | Target spitters first |
| Banking too late | Lose unbanked Gems | Slower permanent progress | Bank at 30 percent health |
The fix for each mistake is mechanical rather than strategic, which means you can correct them within a single session. Focus on one fix per run rather than trying to overhaul everything at once. For example, spend one run purely practicing circle strafing, then the next run focusing on minimap awareness. The unlock guide explains how permanent hub upgrades accelerate this learning curve.
Frequently Asked Questions
What is the best first upgrade in Survive a Million Monkeys?
The best first upgrade depends on your dodge consistency. If you avoid most attacks, rush weapon tier 2 to clear waves faster and earn more Cash. If you are still learning attack patterns, buy one health upgrade first to create a larger margin for error while you practice movement.
How do I earn Gems faster as a beginner?
Gems come from surviving longer and banking at the hub between runs. Focus on reaching Wave 5 consistently before pushing for higher waves, because dying with unbanked Gems loses all progress from that run. Permanent hub upgrades then make every future run easier.
Can I play Survive a Million Monkeys solo?
Yes, the game works fully solo, and many players prefer solo runs because spawn density scales with player count. Solo play forces you to master dodging and positioning since you have no teammates to revive you, which builds stronger fundamentals for multiplayer runs later.
What is the hardest wave for beginners?
Wave 4 is the first major difficulty spike because elite monkeys appear with roughly triple the health of basic monkeys. Entering Wave 4 with a tier 1 weapon and no health upgrades almost guarantees death, so prepare during Wave 3 by purchasing either a turret or a second health upgrade.
How long does a typical beginner run last?
A typical beginner run lasts between 3 and 6 waves, or roughly 5 to 10 minutes of active play. The goal for new players should be consistent Wave 5 clears with successful Gem banking, rather than chasing high wave counts before mastering the core movement and spending fundamentals.