
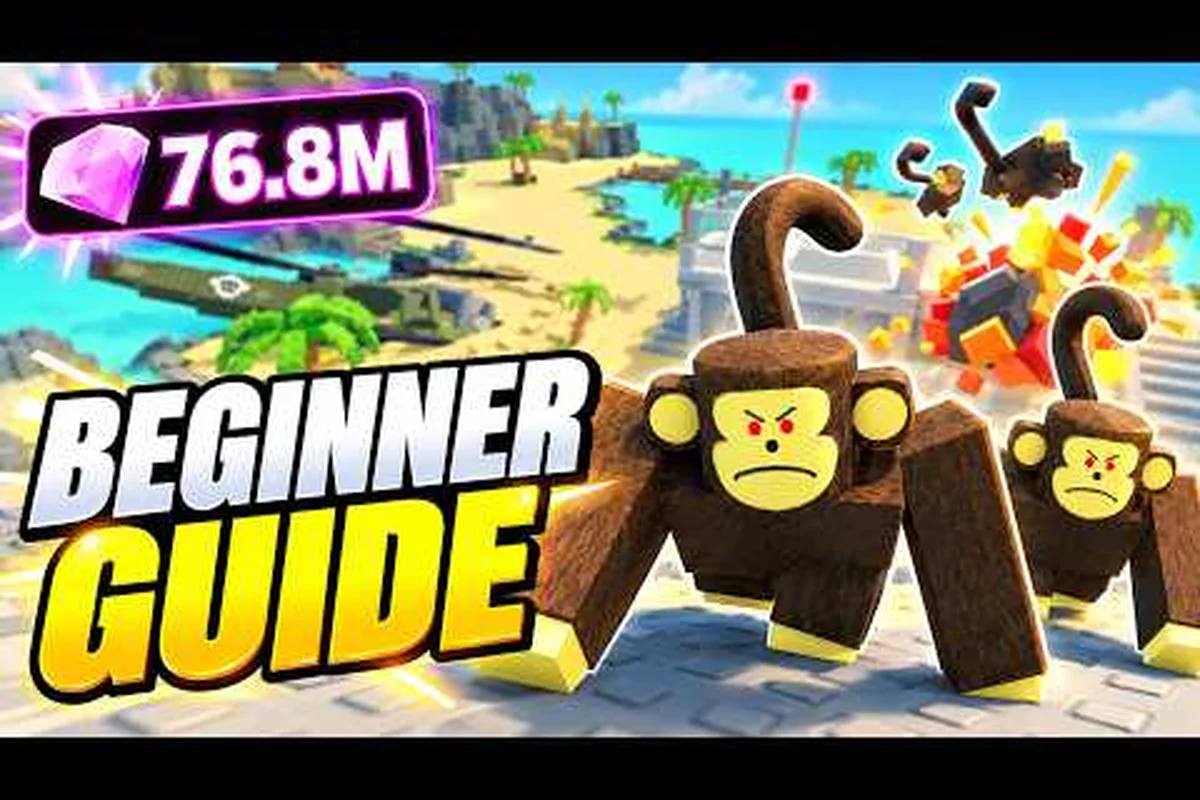
Your first few runs in Survive a Million Monkeys will likely end with a screen full of fur and failure, but that is exactly why a focused noob guide matters. The game throws endless rabid waves at you while you scramble to convert cash into weapon tiers, health, and defensive structures. Learning how to survive longer is not about raw reflexes alone; it is about spending your early cash on the right upgrades and understanding how to clear waves without wasting resources.
The Kill-Earn-Spend Heartbeat of Each Run
Every run in Survive a Million Monkeys follows the same economic heartbeat: you kill monkeys, earn Cash, then spend that Cash to raise your weapon tier, boost your health, or place turrets and barricades. The official Roblox page for Survive a Million Monkeys confirms that you bank Gems in the hub after surviving a run, which makes every second of survival a long-term investment. This loop rewards players who treat each wave as a budgeting decision rather than a pure shooting gallery.
The key distinction between players who die on wave three and those who reach wave ten is spending discipline. Cash disappears fast if you buy every upgrade the moment it becomes available, so you need a priority order that keeps you alive through the next two waves instead of optimizing for a future that never arrives. Community reports consistently show that new players overvalue weapon damage early and undervalue health and barricades, which leads to glass-cannon builds that collapse the moment a fast monkey slips through.
| Resource | How You Earn It | Best Early Use | Common Noob Mistake |
|---|---|---|---|
| Cash | Killing monkeys during a run | Health and barricades first | Spending everything on weapon tier |
| Gems | Banking after surviving waves | Permanent hub upgrades | Hoarding without a plan |
| Weapon Tier | Purchased with Cash mid-run | Raise after health is stable | Maxing damage before defense |
| Turrets | Placed with Cash during waves | Cover side lanes and flanks | Clustering all turrets in one spot |
The loop becomes intuitive after a few runs, but the first hour is where most players quit or develop bad habits. If you want a deeper breakdown of what to prioritize in your opening minutes, the first hour walkthrough covers the exact sequence of purchases that sets up a stable mid-game.
How to Clear Waves Without Burning Out
Clearing waves consistently requires you to understand spawn behavior and lane pressure before you worry about perfect aim. Monkeys do not trickle in from one direction; they pressure multiple angles simultaneously, which means your positioning and turret placement matter more than your trigger finger. A common pattern among players who struggle to clear waves is standing in the open center of the map, taking damage from three sides while their turrets sit unused in a corner.
The solution is to anchor yourself near a wall or barricade so that monkeys can only approach from a limited arc. This simple positional change reduces incoming damage by a massive margin and lets your weapon tier do more work per Cash spent. Turrets should cover the angles you are not watching, not duplicate the angle you are already holding.
| Wave Range | Primary Threat | Recommended Focus | Turret Priority |
|---|---|---|---|
| 1-3 | Slow melee monkeys | Learn spawn timing | One turret on a side lane |
| 4-6 | Mixed speed and health | Stabilize health pool | Two turrets on opposite flanks |
| 7-9 | Fast rushers and tanky units | Raise weapon tier | Three turrets with overlapping arcs |
| 10+ | High-pressure mixed waves | Balance all upgrades | Barricades plus turret coverage |
Positioning alone will not carry you through later waves, but it is the highest-impact habit you can build in your first ten runs. Players who learn to clear waves by controlling engagement angles rather than out-damaging the horde tend to survive significantly longer, according to community testing. The run guide for wave progression goes deeper into wave-specific threats and how to adjust your build as the pressure ramps up.
Reading Spawn Patterns Before They Overwhelm You
Spawn patterns in Survive a Million Monkeys are not random chaos; they follow predictable pressure cycles that you can learn within a few runs. Early waves favor single-lane pushes, while later waves split the horde across multiple entry points to force you into uncomfortable rotations. The moment you recognize a split-spawn wave starting, you should reposition toward the center of your defensive line so you can pivot to either side without sprinting across the entire map.
Experienced players describe this as lane discipline, and it is the single most transferable skill from this noob guide to your long-term survival. When you hold a lane, you commit to watching that angle and trusting your turrets to handle the other side. Breaking lane discipline to chase a single monkey usually opens a gap that three more monkeys exploit within seconds.
Building a Defensive Foundation That Lasts
Defense in Survive a Million Monkeys is not a single purchase; it is a layered system where health, barricades, and turrets each cover a different failure mode. Health absorbs mistakes, barricades slow down rushers, and turrets provide passive damage that keeps working while you reload or reposition. Skipping any one layer creates a specific death pattern that you will recognize after a few losses.
The most common death pattern among new players is the health-starved collapse: they raise weapon tier aggressively, clear waves quickly for a while, then die to a single fast monkey because their health pool never grew. The second most common is the turret-less flank death, where a side lane gets overwhelmed because all defensive structures were placed in the main approach. Both are fixable with a balanced purchase order.
| Defense Layer | What It Prevents | When to Buy | Upgrade Signal |
|---|---|---|---|
| Health | Burst damage deaths | Before wave 4 | You die in under three hits |
| Barricades | Rusher breakthroughs | Before wave 6 | Monkeys reach you in under a second |
| Turrets | Flank and side-lane leaks | Before wave 5 | You cannot watch two angles at once |
| Weapon Tier | Slow clears and ammo waste | After health is stable | Waves take too long to clear |
A balanced foundation does not mean buying one of everything in a fixed order; it means responding to the specific pressure you are facing. If wave five spawns fast rushers on your left flank, a barricade there is worth more than another weapon tier. If you are clearing waves easily but taking chip damage, health is the answer. The skill is reading the current threat and buying the layer that directly counters it.
Why Turret Placement Beats Turret Count
A single well-placed turret outperforms three poorly placed ones, and this is one of the most consistent findings in community reports about how to win more runs. Turrets have limited range and firing arcs, so placing them where they can cover a choke point or a side lane multiplies their effective damage. Placing them in open ground where monkeys approach from multiple directions wastes most of their uptime.
The best turret positions are corners where two approach paths converge, or elevated spots that overlook a long sightline. You want each turret to cover an angle you cannot personally watch while you focus on the main horde. Overlapping turret arcs are fine, but only if the overlap zone is a high-traffic area rather than empty space.
How to Win by Converting Survival into Gems
Winning in Survive a Million Monkeys is not a binary victory screen; it is the process of surviving long enough to bank meaningful Gems that fund permanent progression. Every wave you clear adds to your eventual Gem payout, which means a run where you die on wave eight is still a win if you banked more Gems than your previous best. This reframing matters because it removes the pressure to play perfectly and rewards incremental improvement.
The most reliable way to win more consistently is to treat each run as a data-gathering exercise. Note which wave killed you, what the primary threat was, and which defense layer you had neglected. After three or four runs, you will see a pattern that points directly at your weakest habit. Fixing that one habit usually adds two or three waves to your survival time, which compounds into significantly more Gems per session.
| Run Outcome | Waves Survived | Approximate Value | What You Learned |
|---|---|---|---|
| Early death | 1-3 | Minimal Gems | Spend order was wrong |
| Mid-run death | 4-7 | Moderate Gems | One defense layer was missing |
| Late-run death | 8-11 | Strong Gems | Positioning or turret placement failed |
| Deep run | 12+ | Maximum Gems | Balance and lane discipline held |
The unlock guide for solo progression explains how to spend those banked Gems on permanent upgrades that make every future run easier. The loop between run performance and hub progression is what turns a frustrating early experience into a satisfying long-term climb.
The Cash-to-Gem Conversion Mindset
Cash and Gems serve different purposes, and confusing them leads to poor decisions in both the run and the hub. Cash is temporary; it resets every run and exists only to keep you alive through the current wave sequence. Gems are permanent; they persist across runs and fund upgrades that make your baseline stronger. Players who understand this distinction stop hoarding Cash at the end of a run and start spending it aggressively on survival, because unspent Cash dies with you.
This mindset shift is one of the fastest ways to improve how to survive longer, because it removes the instinct to save resources for a future that does not exist. Every Cash you hold when you die is wasted potential, while every Cash you convert into health, barricades, or turrets extends the run and increases your eventual Gem payout.
Frequently Asked Questions
What is the best first purchase in a run?
Your first purchase should be a health upgrade, not weapon damage. Early waves are survivable with base damage, but a larger health pool gives you room to make positioning mistakes without dying. Community testing shows health-first builds consistently reach later waves than damage-first builds.
How do I stop dying to fast monkeys?
Fast monkeys punish poor positioning and missing barricades. Anchor yourself near a wall so they can only approach from one angle, and place a barricade on the flank you are not watching. This cuts their effective speed advantage and gives your weapon time to finish them.
Should I buy turrets or barricades first?
Buy turrets first if you are dying to side-lane leaks, and barricades first if rushers are reaching you before you can react. Both are defensive layers, but they counter different threats. The correct order depends on which failure mode is killing you in your current runs.
How many waves do I need to survive to bank Gems?
You bank Gems after every run, but the amount scales with how many waves you clear. Even a wave-five death banks a small amount, so no run is completely wasted. Focus on beating your previous best rather than hitting a specific wave count.
What is the fastest way to improve as a new player?
Record which wave kills you and which defense layer you neglected each run. After three or four runs, you will see a clear pattern that points to your weakest habit. Fixing that single habit typically adds two or three waves to your survival time immediately.