
Guides
Complete Survive a Million Monkeys guide hub — how to play, first-hour priorities, upgrade paths, wave strategy and solo routes for the Roblox horde shooter.
Introduction
The Guides hub is the starting block for every new player in Survive a Million Monkeys. It collects the essential knowledge you need before your first drop: how the tutorial unlocks your buttons, how Cash and Gems flow through a run, how wave scaling works, and how to spend your early upgrades without wasting income. Whether you are looking for a complete walkthrough, a fast solo route, or the common mistakes that wipe beginner squads, this category is the fastest way to go from confused survivor to confident horde-buster. Each guide cross-links to the deeper class, weapon, enemy and economy pages so you can branch out exactly when you need it.
Guide Library Quick Reference
| Guide | Focus | Best For |
|---|---|---|
| Beginner Guide | Tutorial, controls, first upgrades | New players before their first run |
| First Hour Plan | Fastest early progression loop | Players who want a clear roadmap |
| Upgrade Guide | Cash spending and health priority | Squads failing mid-game waves |
| Wave Strategy | Horde scaling and positioning | Players pushing deep waves |
| Solo Route | Single-player survival tactics | Solo survivors without a squad |
Guide Cornerstones
Beginner Guide
Your start-to-finish roadmap: complete the tutorial, learn the controls, and survive your first waves.
First Hour Plan
The fastest way to turn one hour of play into a running start on the meta.
Upgrade Guide
How Cash really works mid-run and where your upgrade budget should go.
Wave Strategy
Wave scaling explained: the monkey count climbs, so your positioning must adapt.
Solo Route
How to survive a Million Monkeys without a squad backing you up.
Core Mechanics
Guide content in Survive a Million Monkeys is deliberately layered so newcomers and veterans both find value. The opening wave loop is always the same: the tutorial unlocks your CODES and upgrade buttons, then every run starts you with a basic handgun and a small health pool. From there the mechanics branch into three systems that every deep guide relies on — Cash for instant mid-run power, Gems for permanent hub progress, and the endless wave clock that steadily raises the monkey count. Advanced guides lean on the class system (six kits with Q/G/X ultimates charged by 100 kills), the four weapon tiers, and team roles for co-op. Reading them in order — beginner first, then economy, then classes and weapons — builds the mental model pros use to push hundreds of waves.
Key Advantages
The main strength of the guides category is its completeness for a game that punishes ignorance: you get the tutorial drill, the upgrade math and the wave pacing all in one place. Because the game is new, genuinely correct beginner information is scarce, so each guide here was written to be verifiable against in-game behavior and community sources rather than recycled rumor. The cross-linking between guides and the specialist class, weapon and enemy pages lets you jump from a general tip to a deep-dive answer in one click. Finally, the emphasis on common mistakes means you learn what kills 90% of squads before you ever die that way yourself.
Challenges & Weaknesses
The obvious weakness is timeliness — a brand-new Roblox game changes fast, and wave numbers, unlock costs and meta picks shift between updates while the guides freeze at the moment they were written. Solo players may also find team-oriented advice less useful, and the guides deliberately assume you can read basic game terms rather than re-explaining every icon on screen. Finally, deep-wave numbers beyond the community-verified range are marked as estimates, so min-maxers should treat late-game predictions as direction rather than gospel. The wiki mitigates this by dating every guide and cross-linking the Updates category, but readers who skip those freshness checks may act on outdated wave numbers or unlock costs, which is the main hazard of reading a fast-moving game’s guides instead of playing the live patch.
Frequently Asked Questions
Do I really need to read the guide before playing?+
What is the single most common beginner mistake?+
How often are the guides updated?+
Quick Tips
Always spend Cash at the start of every wave rather than saving for a bigger purchase — the monkey count climbs every wave, and an early weapon tier pays off across the whole run. A-stack upgrades bought at wave 5 do far more work than the same upgrade bought at wave 30.
Complete the tutorial before redeeming codes: the CODES button only unlocks after the tutorial, and players who spam codes early simply get an error until the button appears. Redeem 1MVISITS for the biggest instant Gem head start. In co-op, let your best spender handle the cash while everyone else focuses fire, and the whole squad’s damage curve stays healthy.
In your first hour, follow the First Hour Plan instead of improvising — it sequences your runs so you see gem payouts, unlock a new weapon, and farm your first classes without backtracking. Players who improvise usually waste their first Gems on a class they never wanted. If you are stuck early, follow the First Hour Plan for one full session before inventing your own route, then compare what worked.
Featured
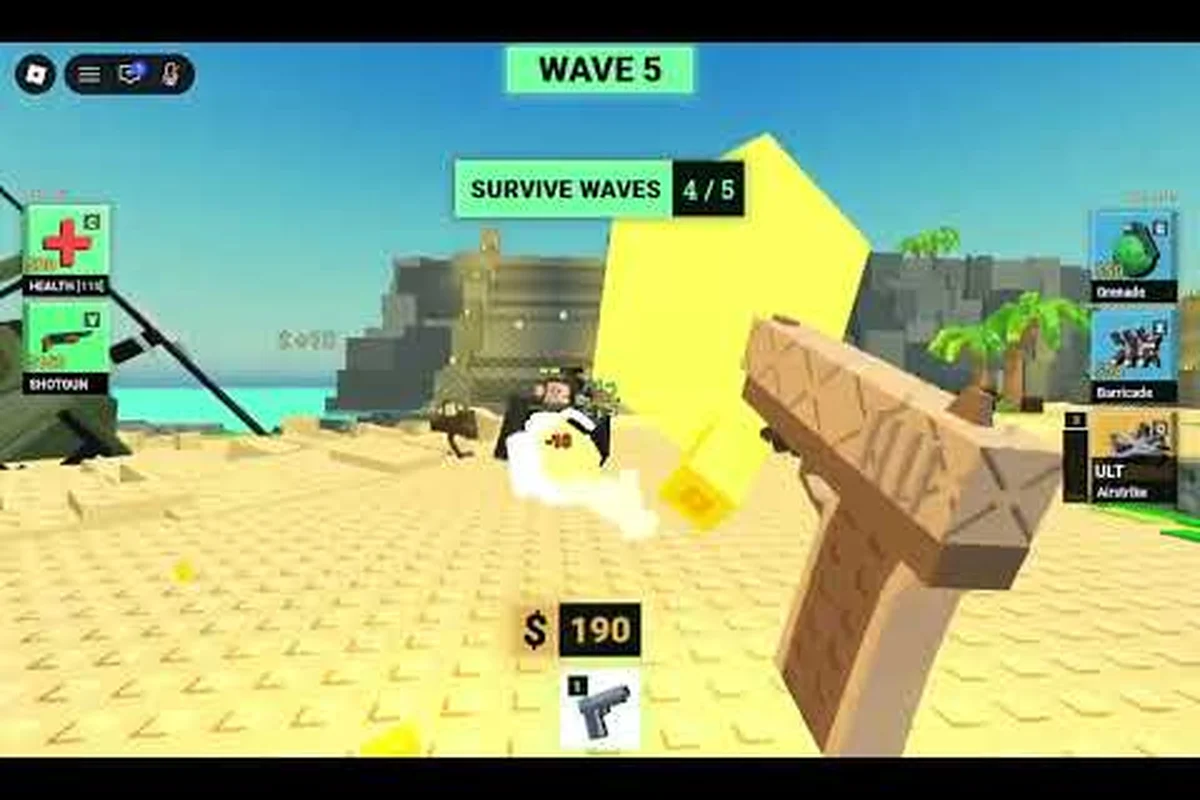
Survive a Million Monkeys Tutorial: Controls & First Waves
Follow the survive a million monkeys tutorial to learn every control, the dodge timing that saves runs, and what to do in your first three waves.
Survive a Million Monkeys Beginner Guide to Wave 1 Basics
Master the survive a million monkeys beginner guide: how dodging, upgrades, and wave pacing keep you alive past the first monkey onslaught.
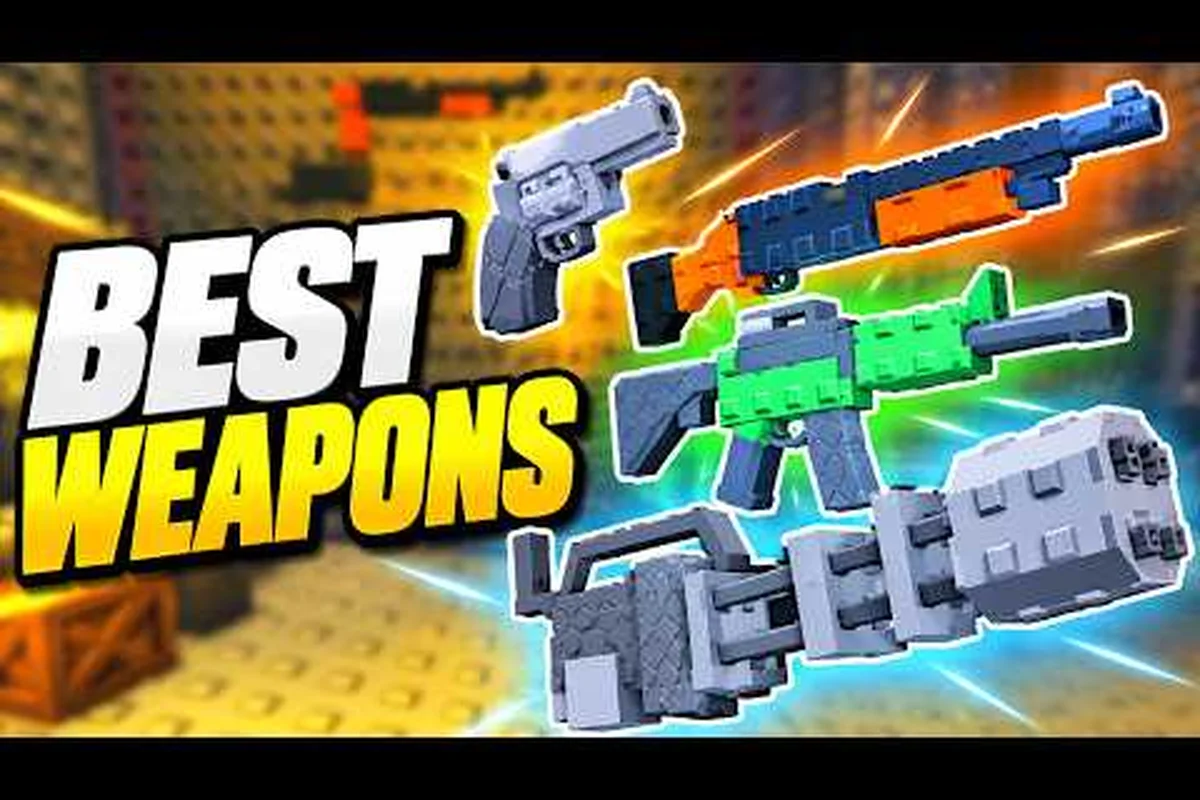
Survive a Million Monkeys Best Loadout for Wave 50+ Runs
Build the survive a million monkeys best loadout with the upgrade combos and stat priorities that carry solo runs past wave 50 without getting swarmed.
All Articles

Survive a Million Monkeys Easy Win Strategy That Works
Secure a survive a million monkeys easy win with the best upgrade order and the key mistakes that end runs before the final wave.
Survive a Million Monkeys Game Guide for Your First Hour
Learn what to do first in this survive a million monkeys game guide so your opening hour in the Roblox arena builds a lasting run.
Survive a Million Monkeys Starting Guide for Fast Progression
Use this survive a million monkeys starting guide to pick strong early upgrades and snowball into late game before the swarm overwhelms you.
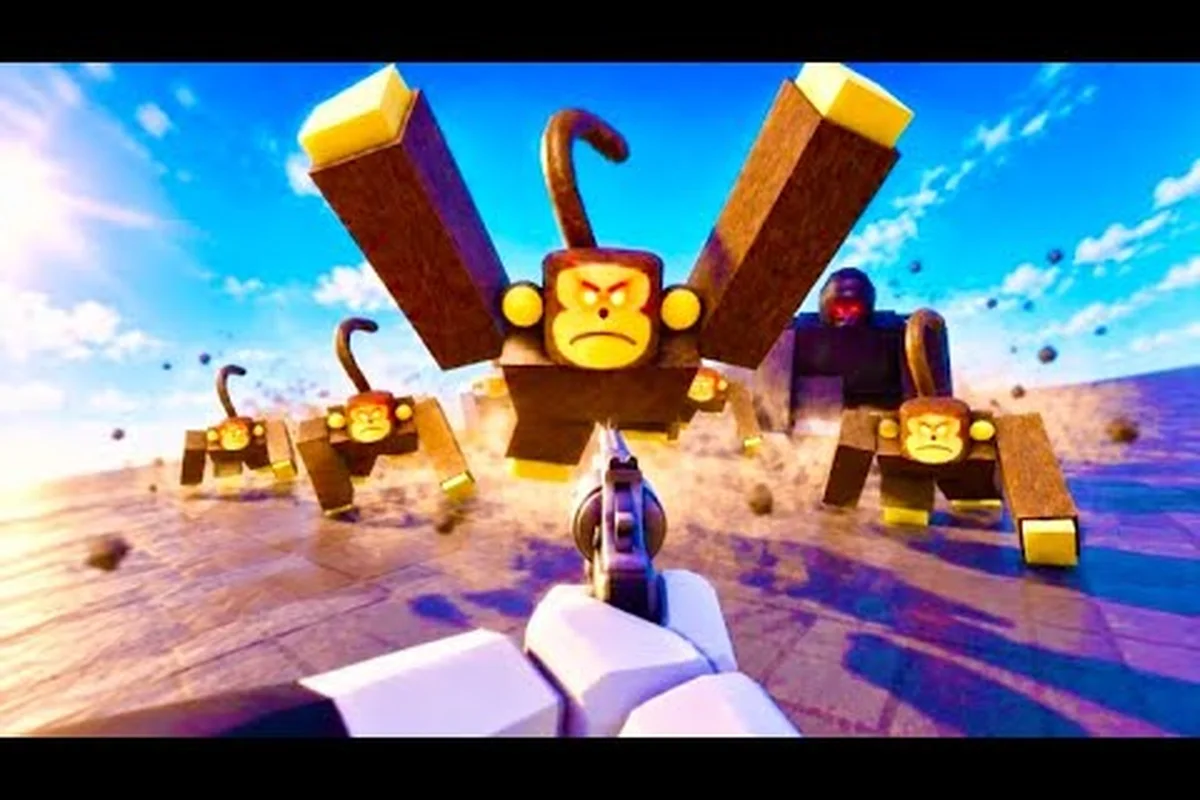
Survive a Million Monkeys Common Mistakes New Players Make
Avoid the survive a million monkeys common mistakes that wipe new players, from wasted upgrades to standing still in dense monkey waves.
Survive a Million Monkeys Noob Guide to Surviving Longer
Follow this survive a million monkeys noob guide to clear waves consistently and learn the survival habits that turn early losses into wins.

Survive a Million Monkeys Run Guide to Upgrade Priority
Plan every run with this survive a million monkeys run guide: which upgrades to grab first and when to save for late-wave power spikes.
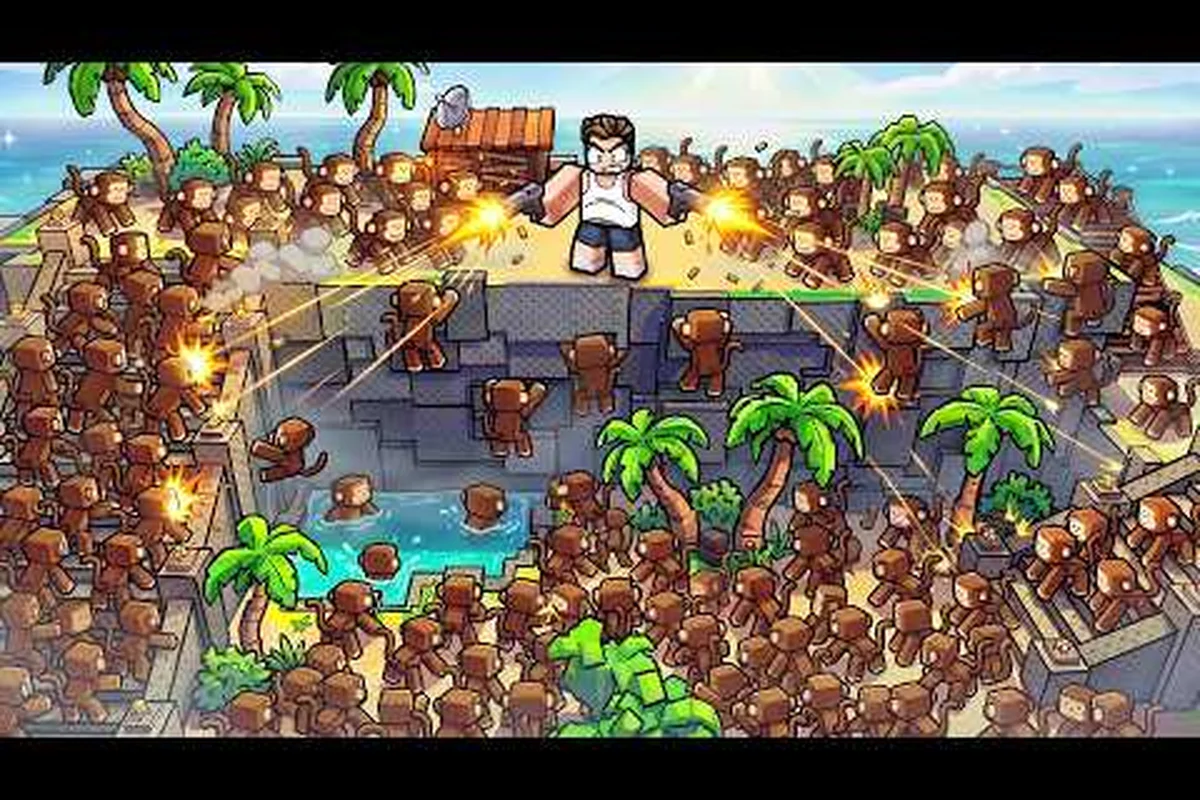
Survive a Million Monkeys Unlock Guide for Solo 2026 Play
Discover what to unlock first in this survive a million monkeys unlock guide, from solo-friendly upgrades to the 2026 meta loadout.