
Classes
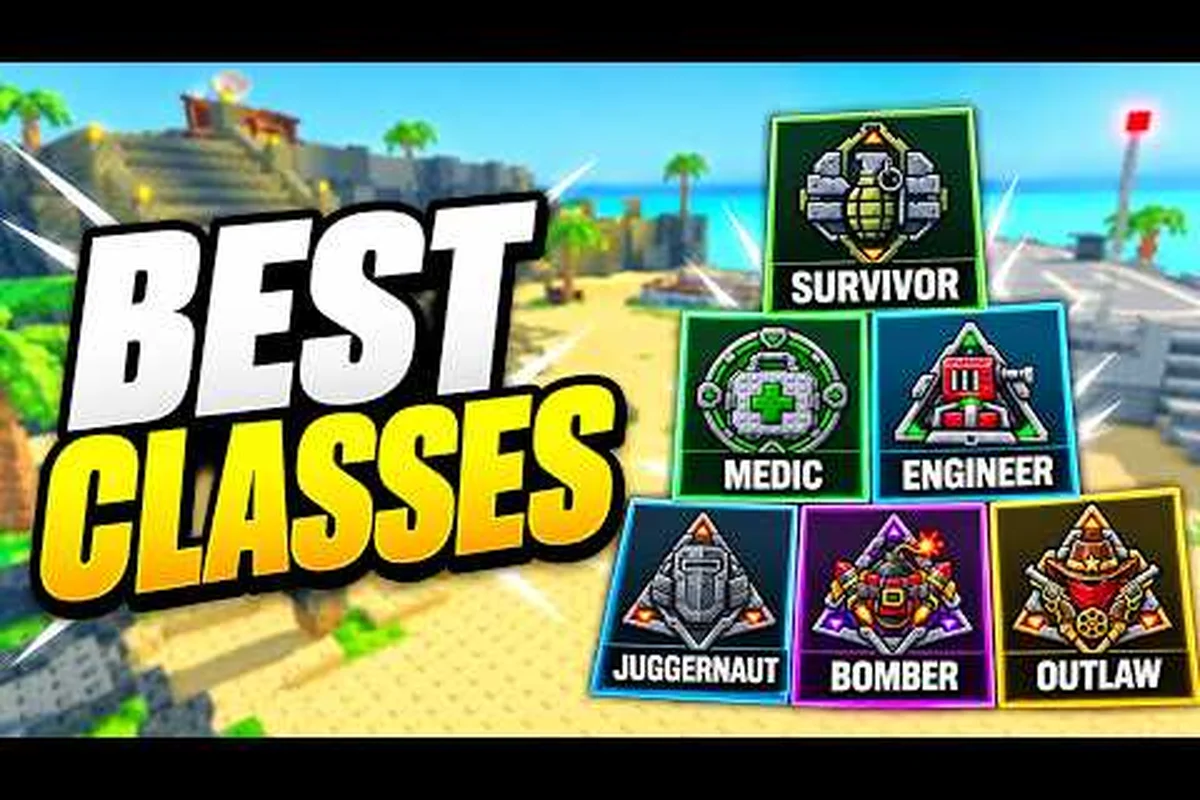
Every Survive a Million Monkeys class explained — Survivor, Medic, Engineer, Juggernaut, Bomber and Outlaw with passives, ultimates and unlock costs.
Introduction
The classes category is the heart of your build in Survive a Million Monkeys. Six playable classes — Survivor, Medic, Engineer, Juggernaut, Bomber and Outlaw — each bring a passive kit, specialized equipment, and a class-specific Ultimate that can swing a wave. Two classes are free early on, while the rest are unlocked with Gems in the hub, with the legendary Outlaw demanding the deepest investment. Because every Ultimate is charged by kills and fired with your Q/G/X keys, class choice decides not only how you fight but how fast you charge your big ability. This category breaks down each kit, the unlock costs, the meta tier placements, and the matchups that matter in both solo and co-op runs.
Six Classes Quick Reference
| Class | Role | Ultimate | Tier |
|---|---|---|---|
| Survivor | Generalist | Airstrike | C |
| Medic | Support | Code Blue | B |
| Engineer | Defense | Overclock | B |
| Juggernaut | Tank | Warpath | A |
| Bomber | Area Damage | Blast Dash | A |
| Outlaw | Heavy DPS | Fan the Field | S |
Class Roster
Survivor
The default class — free, reliable, and built to teach the survival loop.
Medic
Support class that turns team survival into a real strategy in co-op runs.
Engineer
Turret and barricade class that trades personal damage for defensive power.
Juggernaut
Heavy tank with a massive health pool and the Warpath Ultimate.
Bomber
Explosive area damage class that melts grouped hordes in seconds.
Outlaw
Legendary rarity class with the strongest kit in the current meta.
Core Mechanics
Class mechanics in Survive a Million Monkeys revolve around three things: passives, Ultimates, and key bindings. Every class carries a unique passive that shapes its playstyle, and every class can charge its Ultimate by racking up kills — roughly 100 kills per charge. Ultimates are bound to the Q, G and X keys, so even when your class toolkit differs, the muscle memory for firing a big ability stays consistent. Classes are permanent unlocks bought with Gems in the hub, making them the main meta-currency sink alongside weapons. Because the game is new, the exact passive numbers shift with balance patches, but the class roles — generalist, support, defense, tank, area damage and heavy DPS — remain the reliable framework for building a squad.
Key Advantages
The classes category gives you a real decision framework instead of a guessing game. Each class page separates the reliability matters — role, Ultimate, and unlock cost — from speculation about balance patches. The tier placements let you see at a glance which classes pay off for gem efficiency, and the synergy tips tell you exactly how classes pair with teammates, weapons, and gamepasses. For new players the guidance is explicit: start on Survivor to learn the loop, then unlock Bomber for clear-speed, and only farm toward Juggernaut or Outlaw once your weapon roster can support them. Taken together, these strengths make the class roster one of the biggest reasons new players keep coming back: there is always another kit, another Ultimate and another team role to learn, so the loop stays fresh long after the first hundred waves.
Challenges & Weaknesses
Class strengths are always meta-dependent, and a single balance patch can move a class a full tier — the placements on this wiki reflect community sources at the time of writing and will drift after the next update. Higher-tier classes like Outlaw also demand a much bigger Gem investment, so copying tier lists without understanding the unlock cost can stall your progression. Finally, co-op value does not always match solo value: Medic and Engineer shine in squads but feel weak for solo players, and tier lists that ignore team context will mislead partly-solo audiences. The only permanent fix is to read the update notes and re-test your picks after each patch, because a roster that felt unbeatable at launch can be rebalanced faster than casual players expect.
Frequently Asked Questions
Which class should I unlock first?+
How do Ultimates work?+
Is Outlaw actually worth the Gem cost?+
Quick Tips
Start every new account on Survivor and keep your Airstrike for serious waves: Brute Monkey packs and Red Exploding spawns melt under it, while wasting it on the first-wave fodder trades your only burst for pocket change. Learn wave timing first, then branch into paid classes. Once you can read waves, every class becomes a choice instead of a handicap.
Charge your Ultimate with kills as efficiently as possible — focus fire on Brutes and clusters instead of spraying individual monkeys, because charge rate only counts eliminations. In co-op, let the Bomber or Outlaw farm the charge while you protect them with turrets or healing. Groups should decide who farms the charge every wave so Ultimates are always ready exactly when the dangerous spawns arrive.
Match your class to your goal: Survivor and Bomber for solo speed, Medic and Engineer for co-op defense, Juggernaut for deep-wave tanking, and Outlaw only after your weapon roster supports it. Buying a class because the tier list says S before you can feed it weapons is the classic Gem trap. A kit chosen for the wrong game mode is the most expensive mistake the hub can teach you, so always match class to goal before you buy.
Featured
Survive a Million Monkeys Airstrike Ultimate vs the Rest
See how the survive a million monkeys airstrike ultimate compares to Code Blue, Overclock, Warpath, Blast Dash, and Fan the Field for clearing dense waves.
Survive a Million Monkeys Class Guide: All 6 Compared
Compare every survive a million monkeys class guide pick side by side, from the strongest meta class to the worst one you should skip before spending gems.

Survive a Million Monkeys Class Skills: Ultimates Explained
Break down every survive a million monkeys class skills entry, including ultimates, rarity tiers, and exactly how to unlock legendary and rare classes fast.
All Articles
Survive a Million Monkeys Bomber Guide: Explosive Build
Learn the survive a million monkeys bomber guide essentials, then compare it to outlaw, medic, engineer, and survivor to see which of the six classes fits you.

Survive a Million Monkeys Class Tier Breakdown for Deep Runs
Rank every survive a million monkeys class tier guide pick by ultimate power, wave 50+ clear speed, and gem cost so you know which class to choose before spending.
Survive a Million Monkeys Class Unlock Cost in Gems
Plan your spending with the survive a million monkeys class unlock cost breakdown, covering gem prices, passives, and which class upgrades pay off first.
Survive a Million Monkeys Survivor Class: Starter Kit
Master the survive a million monkeys survivor class and see how its abilities stack against medic, engineer, juggernaut, bomber, and outlaw before you commit gems.