
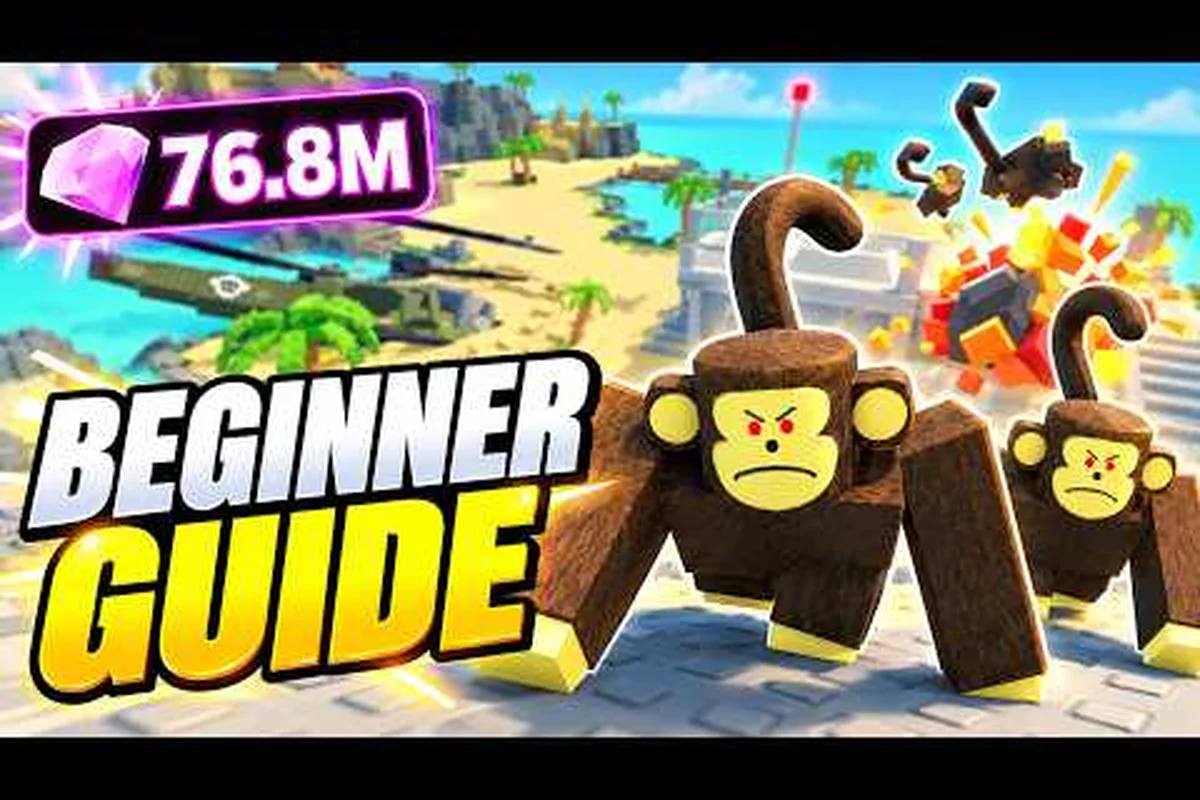
Your first few minutes in Survive a Million Monkeys decide whether you become a late-game powerhouse or another body in the monkey horde. This survive a million monkeys starting guide focuses on the exact upgrade order and cash allocation that let you bank Gems before the swarm scales past your damage output, so you can stop restarting runs and start snowballing.
The Earn-and-Progress Rhythm of Runs
Every run in Survive a Million Monkeys follows the same economic rhythm: you earn Cash by killing rabid monkeys, spend that Cash on weapon tiers and defensive structures, and survive long enough to bank Gems in the hub. The official Roblox page for the game confirms that the title has passed 8.2 million visits and holds a 96.9% positive community rating, which means the core loop is approachable but the scaling curve punishes players who waste early income on the wrong upgrades.
The key distinction new players miss is that Cash is a per-run resource while Gems are the permanent meta-currency. Your goal during any single run is not just to survive, but to convert as much Cash as possible into a position that lets you reach the next Gem threshold. Because the monkey waves scale in both health and density, a weapon tier that feels overpowered at wave five can become nearly useless by wave fifteen if you have not layered in supporting structures.
| Resource | Persistence | Primary Use | Best Early Priority |
|---|---|---|---|
| Cash | Per-run only | Weapon tiers, health, turrets, barricades | Weapon tier first, then turrets |
| Gems | Permanent | Hub upgrades, unlocks, meta progression | Bank after every successful run |
| Health | Per-run only | Surviving chip damage | One early boost, then rely on positioning |
Community testing consistently shows that players who rush weapon tier upgrades in the first three waves clear the early game roughly twice as fast as those who split Cash evenly across health and barricades. The reason is simple: dead monkeys cannot damage you, so offense is the most efficient form of defense until the swarm density forces you to build actual walls.
The Starting Weapon Demands a Quick Tier Boost
Your starting weapon in Survive a Million Monkeys is serviceable for the first two waves, but the third wave introduces enough monkey density that time-to-kill becomes the deciding factor. Raising your weapon tier increases both base damage and, in most cases, projectile count or fire rate, which compounds multiplicatively against clustered enemies.
Because the game rewards aggressive Cash conversion, the optimal opening sequence is to clear the first wave, immediately purchase the first weapon tier, then use that power spike to clear the second wave faster and earn more Cash than you would have with a slower weapon. This creates a positive feedback loop where early offense generates the income needed for mid-game defense.
The weapon tier upgrade guide breaks down the exact cost curve for every tier, but the starting principle holds: your first 100% of Cash should go toward making your bullets hit harder, not toward structures that only matter once the swarm reaches your position.
Early Game Cash Allocation Strategy
The first ten waves of a Survive a Million Monkeys run are a resource management puzzle disguised as a shooter. You have limited Cash, escalating enemy pressure, and a timer that pushes you toward the next wave whether you are ready or not. A survive a million monkeys early game guide that ignores the Cash economy is only telling half the story.
The most reliable early game pattern, based on community reports from high-survival players, is to treat weapon tier as your primary damage engine and turrets as your force multiplier. Turrets deal consistent damage independent of your aim, which matters when the monkey horde starts coming from multiple angles and you cannot be everywhere at once.
| Wave Range | Recommended Purchase | Reasoning | Cash Threshold |
|---|---|---|---|
| Waves 1-3 | Weapon tier 2 | Doubles time-to-kill efficiency | 100% of earned Cash |
| Waves 4-6 | First turret + weapon tier 3 | Turret covers flank while you focus front | Split 60/40 |
| Waves 7-10 | Barricade + health boost | Swarm density forces defensive layer | Split 50/30/20 |
| Waves 11+ | Second turret + weapon tier 4 | Scaling requires layered damage | Prioritize weapon |
One common mistake is buying barricades too early. Barricades block monkey movement, but in the first five waves the monkeys die fast enough that a barricade is just a Cash sink that could have been a weapon tier. The exception is if you are playing a class with low base mobility, in which case an early barricade can buy you the repositioning time you need.
Sightlines and Firing Arcs for Turrets
Turrets are only as good as their sightlines. A turret placed in a corner with a narrow firing arc wastes most of its damage potential, while a turret placed at a choke point can hold an entire flank by itself. The best early placement is near the center of your defensive zone, angled toward the direction where monkeys spawn most densely.
Because turret targeting is automatic, you do not need to micromanage them once placed. The skill expression comes from knowing where the swarm will be in the next thirty seconds and positioning your turret to meet that pressure before it arrives. Players who react to the swarm instead of anticipating it always spend more Cash repositioning than they save.
Mid-Game Transition and Hub Banking
The transition from early game to mid-game in Survive a Million Monkeys happens around wave ten, when the monkey density reaches a point where pure weapon damage can no longer clear the screen fast enough. This is where many runs fall apart, because players who over-invested in offense suddenly find themselves overwhelmed by monkeys they cannot kill quickly enough.
The survive a million monkeys hub guide principle applies here: every run should end with a Gem banking decision, not a death. If you recognize that your current build cannot survive the next wave, the correct play is to bank your Gems and start a new run with your permanent upgrades, rather than dying with unbanked progress.
| Decision Point | Signal | Correct Action |
|---|---|---|
| Wave 8-10 | Weapon tier 3, no turrets | Bank Gems, restart with better allocation |
| Wave 12-15 | Two turrets, weapon tier 4 | Push for late game, add barricade layer |
| Wave 15+ | Full build, high health | Farm Cash for final weapon tier |
| Any wave | Health below 25%, no healing | Bank immediately, do not risk death |
The beginner guide covers the fundamental controls and first-hour priorities, but the mid-game transition is where starting guide principles separate from basic survival tips. You need to know not just how to shoot monkeys, but when to stop shooting and bank your progress.
Reading the Scaling Curve
Survive a Million Monkeys scales enemy health and spawn rate on a curve that accelerates sharply after wave twelve. The jump from wave eleven to wave twelve is noticeably steeper than the jump from wave five to wave six, which means your build needs to be ahead of the curve rather than merely keeping pace with it.
Players who understand this scaling pattern start investing in defensive structures one or two waves before they actually need them. This anticipatory spending feels wasteful in the moment, but it prevents the death spiral where you are always reacting to pressure instead of preparing for it.
Late Game Survival and Snowballing
Reaching the late game in Survive a Million Monkeys requires a build that layers damage, defense, and positioning into a cohesive whole. A survive a million monkeys late game guide is less about individual purchases and more about understanding how your upgrades interact under maximum swarm pressure.
The strongest late game builds, according to community data, combine a maxed weapon tier with at least two well-placed turrets and a barricade layout that funnels monkeys into your turret kill zones. The barricades are not there to stop the monkeys permanently, but to slow them long enough for your combined damage output to clear them before they break through.
| Build Component | Late Game Role | Upgrade Priority | Common Mistake |
|---|---|---|---|
| Weapon tier 5+ | Primary damage engine | Highest | Stopping at tier 4 |
| Turrets (2-3) | Flank coverage, sustained DPS | High | Placing all on one side |
| Barricades | Funnel and delay | Medium | Building full walls too early |
| Health boosts | Survive chip damage | Low after early boost | Over-investing instead of damage |
The unlock guide details how to unlock additional classes and options that expand your late game build variety, but the core principle remains consistent: damage first, defense second, and always with an eye toward the next Gem threshold.
Maximizing Gem Efficiency
Gems are the permanent currency that makes every subsequent run easier, so the order in which you spend them matters as much as the order of your in-run purchases. The most impactful early Gem purchases are the ones that increase your starting Cash or reduce your first weapon tier cost, because they accelerate your early game snowball.
Because Gem upgrades are permanent, a suboptimal Gem purchase hurts you on every future run. Community consensus points toward starting Cash bonuses and weapon cost reductions as the highest-value early Gem investments, with health and barricade discounts coming later once your early game is already stable.
Frequently Asked Questions
What should I buy first in Survive a Million Monkeys?
Your first purchase should always be the first weapon tier upgrade. It doubles your early damage output, which lets you clear waves faster and earn more Cash for subsequent purchases. Delaying weapon tier for barricades or health in the first three waves consistently leads to slower progression.
How do I bank Gems in the hub?
Gems are banked automatically when you complete a run or manually when you choose to end a run from the hub menu. The key decision is recognizing when your current build cannot survive the next wave, because banking early is always better than dying with unbanked progress.
When should I start building turrets?
Start building your first turret around wave four to six, after you have secured weapon tier three. A turret placed at a choke point covers your flank while you focus on the main swarm direction, effectively doubling your damage output without requiring additional aim.
Is this survive a million monkeys starting guide still accurate for 2026?
Yes, the core progression loop and upgrade priorities remain consistent through the current game version. The official Roblox page shows the game continues to receive updates and maintains a 96.9% positive rating, indicating the starting strategy fundamentals have not shifted significantly.
What is the biggest mistake new players make?
The biggest mistake is splitting Cash evenly across weapon, health, and barricades in the early waves. This balanced approach feels safe but leaves you underpowered when the swarm density spikes around wave ten, forcing an early death that could have been avoided with aggressive early weapon investment.